Board and Batten Shutters DIY Tips
Board and batten style shutters are one of the oldest and most versatile styles of shutters. From ancient times, shutters provided privacy and security and were more functional for window openings. And even before the use of glass windows, they were primarily used to cover the window openings.
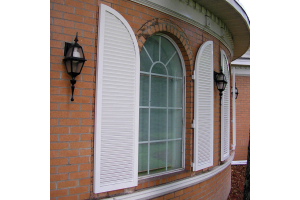
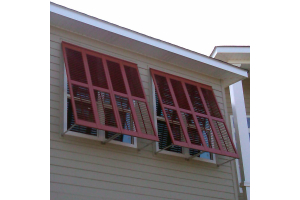
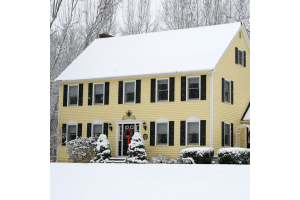
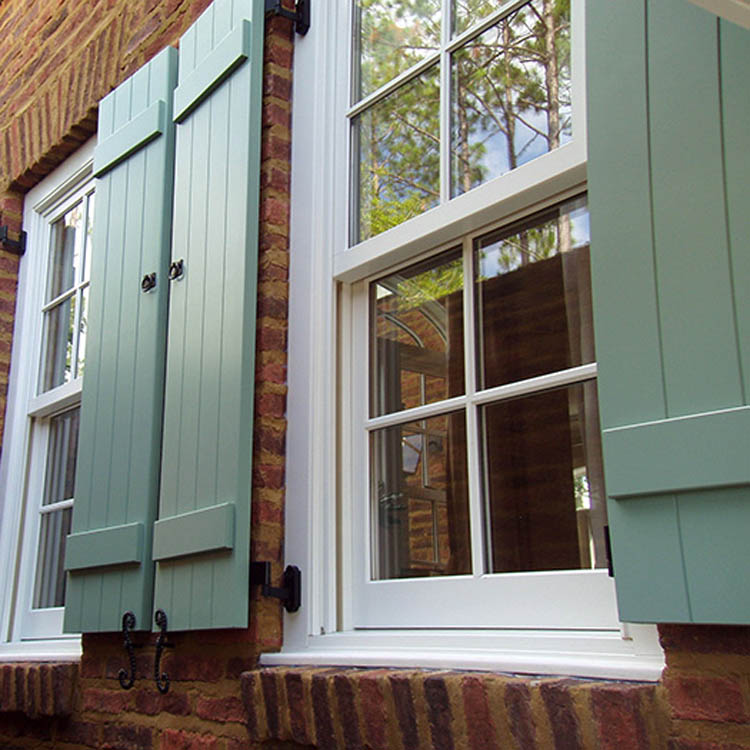
Today, board and batten style shutters are having a resurgence and are again in favor, especially for homeowners who want to have a retro style, rustic and relaxed appearance in the home. That said, you will find board and batten style shutters cheering up window openings on a variety of house styles from single cottages and stuccoes farmhouse to stone colonials. That's because they are easier to assemble, as all you will need is durable wood such as western red cedar and a few hours with woodwork tools at the bench.
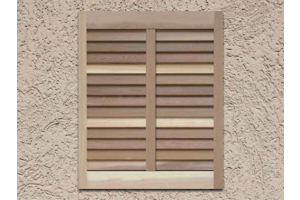
A batten board shutter consists of two main components; the vertical slats (boards that are glued or screwed against each other) and the horizontal pieces (battens that hold the boards in place). They are quite easy to make with handy tools, which is what we shall cover in this post. Read on to find out.
Step by step on how to assemble a DIY board and batten shutter
The typical arrangement of board shutters would be 3 boards and 2 shutters – and you could choose to add a diagonal piece, but it is not necessary. If your windows are quite tall, then you might consider using an extra batten in the middle and make the boards longer.
Step 1: Assemble the necessary tools
If you are unfamiliar with how to use the required tools or lack the obvious woodworking techniques, you can either visit the local workshop and have them rent the tools to you, or you can pay them to plane and cut the wood for you. Whatever is convenient for you, but this section shall cover all you have to do on your own at home from the ground up including sanding and gluing. That said, let’s highlight the tools and supplies you will need to assemble a board and batten shutter.
Tools
- Impact wrench or drill.
- Compound meter saw.
- Palm sander with 80 and 240 grit sandpaper.
- Wood planer.
- Circular saw.
- A small paint roller for spreading the glue.
- 4 large woodworking pipe clamps (preferably 0.75-inch size.
- An assortment of other trigger clamp variations.
- Nail gun with 18-gauge finish nails.
- Tape measure.
Materials and supplies
- Quality woodworking glue (16 ounces or more)
- At least 4 pieces of scrap wood.
- Woodscrews.
- 1x6 polar boards.
- Sanding sponges.
- Rubber gloves and cloths for staining.
- Paint sticks.
Step 2: Clamp and glue your polar boards (3 boards at a time)
- Glue or screw together your polar boards.
- Apply the glue on the edges of the boards. Use a clamp to hold the boards tight.
- Wait for at least 6 hours for the glue to dry.
- Provide enough clamping force and ensure the lumber is off the ground while applying glue.
- Plane the levels to remove any inconsistencies as a result of gluing. You can use a level surface to expose any high points or any ridges left. The planer should be set at a 45-degree angle for better results.
Step 3: Cut the boards to your desired shutter length
- Take your window measurements including the trim around them, length, and width.
- Use the miter saw to cut all 6 polar boards to your required size. And remember that the length of your boards should be determined by the height of your windows.
- And depending on the width of the board and batten shutters, you might be needed to rip your boards from the sides for them to fit into the window width.
- Use your circular saw to trim the rough edges that are visible on your lumber. And remember to use tape to minimize tear-out.
Step 4: Round the edges of the boards
For square boards, it is difficult to see where one ends and where one begins after you glue them together. Therefore, use the 80-grit sandpaper to round the upper and lower edges of your boards so that they can meld together visually.
Step 5: Cut and attach the battens to the boards
- After the boards have been assembled, measure and cut 2 battens from the 1x4 frame.
- If you want to add a third batten, you can add it in the middle if you like the idea. Alternatively, you can add a diagonal batten that runs between the top and bottom to come up with a ‘Z’ pattern.
- While attaching the battens, glue or screw from the back of the boards to prevent any nails or screws from showing on the front part. Therefore, put the battens face down on your work table.
- Screw the battens on from the back with screws on each end per board.
Step 6: clear the roughened edges and surfaces with sandpaper
- Place the board and batten shutters on the plain level and use an orbital sander to finish it.
- Ideally, you will have to start with the 240-grit sander and then finish with the 80-grit sandpaper. But that depends on how rough the edges and surfaces are.
Step 7: Stain and finish
- Now that your batten board shutters are sanded and are smooth, it is time to apply stain or paint, whichever you choose.
- First of all, double-check the boards for any debris or dust before applying the stain or finish.
- The stain would condition the wood from weather elements. And depending on the type of lumber you use; you will need to use the appropriate finish as different lumber use different finishes.
- At this point, the boards and battens have been screwed together. Next up is to add the hardware that makes it possible to install the board and batten shutters firmly on the window trims.
The bottom line
When it comes to any project, money is always a factor. And while you can contact a batten board manufacturer and pay for a ready-made item, you can use the “Do-It-Yourself” aspect to save money and make your board and batten shutter over one of your weekends.